Wednesday, December 19, 2018

Trailer Training: Step 1

The method I use to train horses to trailer willingly and without fear is not new.  You may have read about similar methods in horse training books and it has been used by a few horse trainers that I have known.  This method is successful with horses that are fearful of trailers because it progresses slowly and makes them feel safe around the trailer.  Horses that do not have trailer anxiety can still benefit from Step 1.

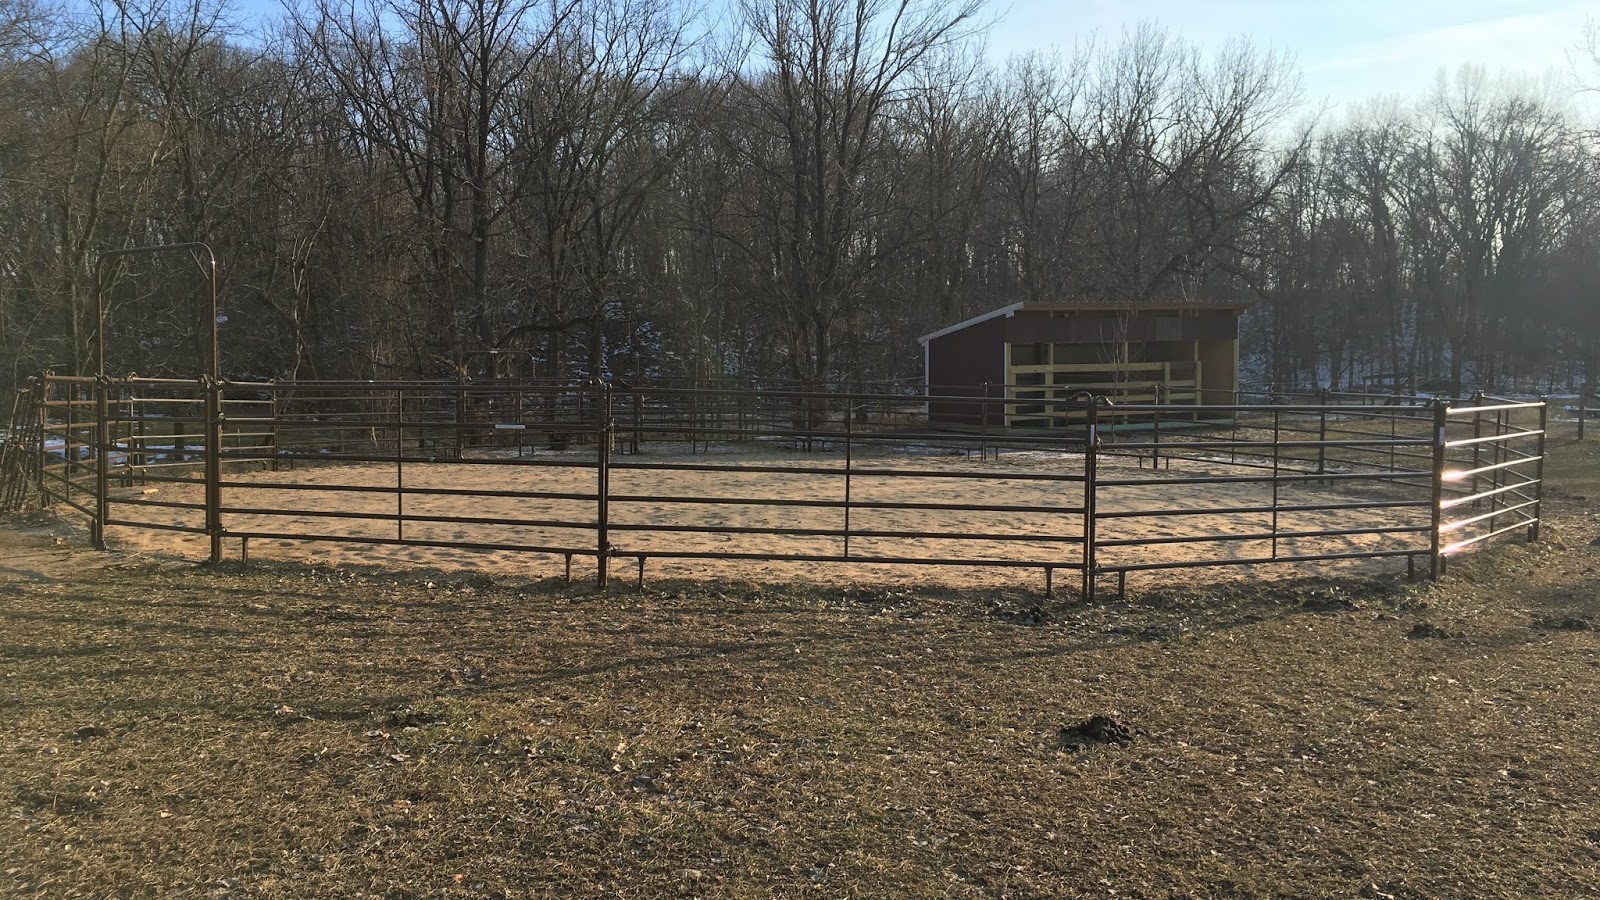
I back my trailer up to the gate of my 60' round pen.  It gives me plenty of room to work with the horse, but keeps them contained enough that I can keep them close to the trailer.  I like to keep my trailer on the outside of the enclosure to give the horse less surface area for chewing and damaging my trailer.
What you need:
  •          Trailer
  •          Enclosed Area
The trailer can be parked inside the enclosed area or backed up to a gate.  The trailer’s tires should be blocked so that the horse can go in and out of the trailer without it rolling around.  I have backed the trailer up to the gate of a paddock or have created a fence around it.  This step works best in an area that does not have vegetation (a dirt lot).

The Goal:  The horse associates the trailer with something “good” (food).  The horse accepts your presence in the trailer with him.

Once the trailer is secured, the back door of the trailer should be left open.  If it is a slant load trailer, the partitions should be removed or secured open so that the horse has as much room as possible.  All of the horse’s food should be placed inside the trailer.  For some horses that are especially wary of the trailer, the food may have to be placed closer to the opening for the first few days.  The horse should be allowed to go in and out of the trailer as he pleases.  Do not offer any food except what is inside the trailer.  It is normal in the beginning for the horse to grab a bite of hay and quickly exit the trailer and eat it outside.  Eventually he should relax and be able to eat his food inside the trailer.  Continue to feed the horse in the trailer until the horse seems relaxed.

Training Plan Example:

Day 1: Place the food inside the trailer where the horse can just barely reach it by stretching out his neck.

Day 2: Place the food where the horse must put both front feet into the trailer.

Day 3: Place the food where the horse must put all four feet into the trailer.

Day 4: Place the food at the very front of the trailer.

Next, the horse must learn to accept your presence in the trailer with him.  Using grain at this step can be helpful.  The grain should only be available when you are standing in the trailer.  For some horses, you may have to start back at Day 1 with placing the grain so the horse can just barely reach it without stepping in the trailer.  Each day, move the grain farther into the trailer until you can stand next to your horse all the way inside the trailer while he eats his grain.

Once your horse is relaxed with you in the trailer and willingly stands inside the trailer for extended periods of time, you can move to Step 2!

Case Study: Zeke

I began Step 1 with Zeke last fall.   The first day, Zeke spent very little time in the trailer, especially when I was close enough where I could have shut the door.  He went in, grabbed a bit of hay, and jumped out to chew the hay.  Over the next several days, he spent more time in the trailer and was less concerned when I was nearby.  By the end of the week, I was able to stand in the trailer with him. I ended up having to use the trailer about a week later and never got around to parking it back in his pen.

When I got the trailer back out this spring, I started back at Step 1.  As soon as I opened the round pen gate, Zeke jumped into the trailer.  This was a really great sign that he remembered the food reward from last fall and was not concerned about the trailer being there.  He readily accepted my presence with him in the trailer and we moved on to Step 2.

Wednesday, December 5, 2018

Training Horse Profile: Copper

Training Goals:
  • Walk, trot, and canter under saddle without bucking
  • Desensitized to rear cinch
  • Desensitized to spurs
I have this cute little guy for a short two weeks. Copper has had a lot of love and handling in his two years of life and is a very friendly guy. His training will be very basic as the owner would like to do most of his training themselves. My job is to get him started enough so that is safe for them to take over. Two weeks is a pretty short time to get a horse cantering under saddle, so I have my work cut out for me.


Session 1:  Boy, is he a little guy.  I put a pony girth on my saddle and it is barely short enough for him! I have the girth almost touching the ring on my saddle on the offside and it is nearly as close on the left side. I had to shorten up the rear cinch quite a bit as well.
I always start with lunging/round penning so I can establish a relationship with the horse and see how he responds to me.  I also want to establish forward movement through voice cues, which is helpful when we are actually ready to ride. We started off a little rough as Copper tested the boundaries and my personal space bubble.  By the end of the session I had that sorted out and he was responding better to my body language and voice cues. Lots of bucking happened as he felt the rear cinch move against his belly.
Session 2:  I saddled Copper up and started again with round penning.  I was planning on starting ground driving with him but I discovered that I needed to punch more holes in my bridle to make it fit his tiny head properly.  Instead, we worked on some other ground work and voice cues. Less bucking today.

Session 3: I began today with reviewing round penning to warm Copper up and get his attention on me. Last night, I punched more holes in my bridle so that we could begin ground driving today. I am using the Driving from Behind method (more on that here: Ground Driving). He caught on very quickly to turning and backing up. He fought the bit some when stopping, but it was pretty good for his first day.
Preparing for his first ground driving lesson.
Session 4: Reviewed round penning and ground driving.  After he was warmed up and responding well to the pressure on the bit, I desensitized him more to the saddle: shaking the saddle, slapping the saddle, flopping the stirrups against his belly, etc.  I did this on both sides. I do this because I want the horse to be used to a variety of sounds and movements from the saddle so they are less likely to be spooked by them when I am on their back. Some people choose to spend less time on this type of stuff, but I prefer to try and prevent as much jumping around as possible! After desensitizing him to the saddle, I put one foot in the stirrup and jumped next to him, standing up in the stirrup every few jumps. I repeated this on both sides.  He stood still and did not seem very concerned about it. He looks ready for his first ride tomorrow!
Practicing Ground Driving
Session 5:  I began today by warming him up for a few minutes with round penning.  I wanted to get out his extra energy and any bucks before I hopped on.  He stood quietly while I mounted and I flexed his neck in both directions.  I then asked him to move forward through voice cues and some light leg pressure.

He doesn’t yet know what the leg pressure means, so I want to associate the ‘clucking’, which he knows means move, to the leg pressure.  I like to use light leg pressure in the beginning because he doesn’t yet understand what it means, and intensifying the leg pressure usually either causes them to shut down or start bucking—neither of which is particularly desirable.  It took a few minutes for him to figure out what I wanted him to do. Each time he stepped forward, I released the pressure (both verbal and physical) and let him think for a minute. It only took about a dozen repetitions for him to figure out what I was asking and then we were walking around the ring.  

Next, I practiced turning, stopping, and backing. This was relatively easy for him because he already had learned how to do it while ground driving. My last goal for the day was to get a little bit of trotting. He trotted several times for me in short bursts, and no bucking! I was very happy with his progress for the day.

Session 6: Today, my goal for Copper is more sustained trotting. As I only have four more sessions with him, I am also introducing the spurs. Because Copper does not have a lot of fat protecting his ribs, I am wrapping my spurs to give them a little bit of cushion (more on that, here). I started with the spurs on the ground so that he learned what they felt like before I am on his back. He did not have much of a reaction to me manually pressing the spurs against his sides, so I think we are good to go.

Since I want to keep Copper trotting, I am carrying a crop to help encourage him forward. I often use a crop during the first few rides because it helps get the forward movement I am looking for when I find that leg pressure is not working. Combining the crop with the leg pressure usually helps the horse to understand what I am looking for and is only needed for a couple of sessions. Copper did great with the spurs and with trotting. He is a fast learner!

Session 7: Today, I am introducing Copper to the canter! I started with a few minutes of round penning to warm him up and make sure he wasn't overly energetic. Once he was ready to ride, I reviewed what he had learned so far at the walk and trot. He is turning very willingly and is quite soft in the mouth. To finish the training session, I asked him for the canter. I used vocal cues (kissing sound) and the crop to reinforce the light leg pressure. For his first canter, I am only looking for a couple of strides at a time. He cantered off nicely and behaved himself very well.

Session 8: I hopped on today without round penning him first to see how he would do. This did not seem to bother him and he worked well at the walk and trot. I asked him to canter earlier in the session so that he had more energy for sustained cantering. He did very well with his left lead, but struggled with his right. This was not surprising because he struggles to pick it up when lunging as well. Towards the end of the training session, he began to randomly stop while stretching his nose down to the ground. He stopped quite suddenly and it caught me off guard the first time. I had to work with him longer that I normally would so that I could correct the random stopping.

Session 9: It is raining and there is lots of thunder in the distance. Copper is not thrilled about working in the rain. He has not repeated the sudden stopping trick of yesterday, so apparently that was a one day thing. We worked on turning, stopping, and backing at the walk and trot, as well as more cantering. About halfway through the session, he decided that he would not travel clockwise, regardless of the gait. If I turned him to the right, he would stop and refuse to move. The only way he would start moving again is if I turned him to the left. It took a little while to convince him to go to the right.

Session 10: This is Copper's last day of training with me! The round pen was very wet today, so I had to be a little careful with cantering so he didn't slip. We did lots of transitions, circles of various sizes, and changes of direction. He is becoming much more responsive to cues!


Copper is doing extremely well at turning, stopping, and backing. He has a really nice trot and his canter is coming along. He struggles with his right lead, but more practice and building muscle will help him get that too. He and his owner have a bright future ahead of them!

Training Horse Profile: Wrigley the Mustang

  Training Goals: Start under saddle Continue to build confidence and trust Wrigley is a four-year-old mustang that was recently acquired by...